FBO-EstParts what last! |

WARNING:
THIS PRODUCT WILL CREATE MINIMUM ET'S AND
EXERT MAXIMUM "G" FORCES TO OCCUPANT & VEHICLE
7 out of 10 NHRA 2010 World Champions Ran On
Calvert Suspension
Track Tested to 1500 HP

As every Drag Racer knows, consistency wins championships. John Calvert has achieved championship status in the highly competitive field of NHRA drag racing. He has 20 plus years of racing experience over every type of track condition imaginable. John has won most of his races in a 1968 Ford 428 cu/in powered Cobra Jet Mustang. He knows the idiosyncrasies and potentials of his car without question; He knows the importance of understanding and fine tuning all the components needed for repeated successful performance. His experience and success over the years with his car provide him with an excellent base line from which to create more efficient modifications. It has in this experimental role that John and his skilled friend Larry Kieser developed the CALTRACS traction enhancement system.
In Stock Class, where John's major racing endeavor has been shaped, NHRA dictates that a maximum of 9" slicks can be used. This presents a racing dilemma to a driver when trying to couple big block power to the ground. The CALTRACS design was developed in John's garage. Brainstorming together, Larry and John created the design and the first model of the system. CALTRACS augments the car and driver potential to specific performance goals while complying with hard set NHRA class parameters.
John's concept won the enthusiastic approval of his family. Two brothers, Keith and Paul and Dad, Bernerd all share a talent and fascination for the world of mechanical engineering. Combined they hold over 75 years of career involvement in Aerospace engineering and production.
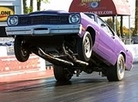
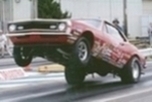
You think Caltrac suspension is just another voodoo story? Here you go !
PUT ON YOUR ANTI "G" FORCE FLIGHT SUIT
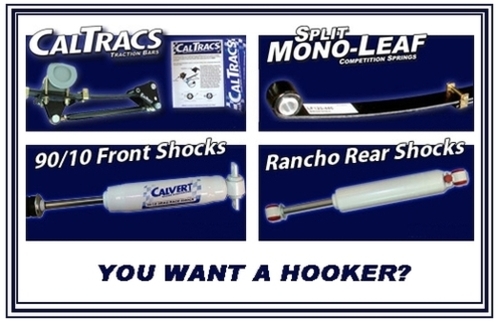
THIS SYSTEM WILL HOOK YOU UP!
Caltrac "mono-leaf split" springs

Equipped on 6 of the last 7 World Champions in Stock Elliminator. Calvert Racing’s Split Mono-Leafs are used by drag race enthusiast across the nation, that demand nothing but the best performance!
Calvert Racing’s Split Mono-Leafs are available for most cars and light weight trucks. Most springs are in stock and typically ship out by the following day. Call us now for your application!
- Complete with aluminum bushings in front eyes, & urethane bushings in rear eyes.
- Split Mono-Leafs made to work in conjunction with CalTracs.
- 200lb. - 225lb. spring rates available.
- Various ride height options.
- Substantially lighter than multileaf springs for unsprung weight savings.
- Heavy duty alignment spring clamps
Price : 380 €
Caltrac traction bars

Specializing in leafspring traction enhancement systems for over 15 years, the Calvert Racing Team knows what it takes to get your car hooking harder than ever!
With unsurpassed quality and craftsmanship, all competition is eliminated. Why settle for anything less than the original system that set the standards?
Calvert Racing’s CalTracs are the most innovative traction bar units today, often imitated, but never duplicated.
If you have a leafspring car, we have a set of bars for you! From daily driven cars, to 8-second outlaw cars, this system is made to out perform!
- Complete bolt-on, no cutting, welding, or modifications to OEM suspension.
- Keeps axle from rotating, helping maintain pinion angle.
- Improves 60ft times.
- Full preload adjustability.
- Eliminates spring wrap-up.
- Powdercoated gloss black finish.
- Full color Installation Guide.
- PSCA, NMCA, NHRA approved.
Price : 600 €
Ranco RS9000X rear shocks

- 9 way adjustable.
- External dial for easy adjustability.
- Dial primarily adjusts rebound, enabling driver to control excessive rear body separation.
- Heavy duty industrial steel bodied design.
- Cost effective.
Price : 225 €
Calvert 90/10 front shocks

Calvert Racing Suspensions now introduces a shock specifically designed for maximum weight transfer. Dual stage valving on compression allows the car to settle on the top end
-
Cost effective
-
Light weight design
-
Lightning quick separation
-
Available for Ford, Chevy, & Chrysler
Price : 125 € pair
More information
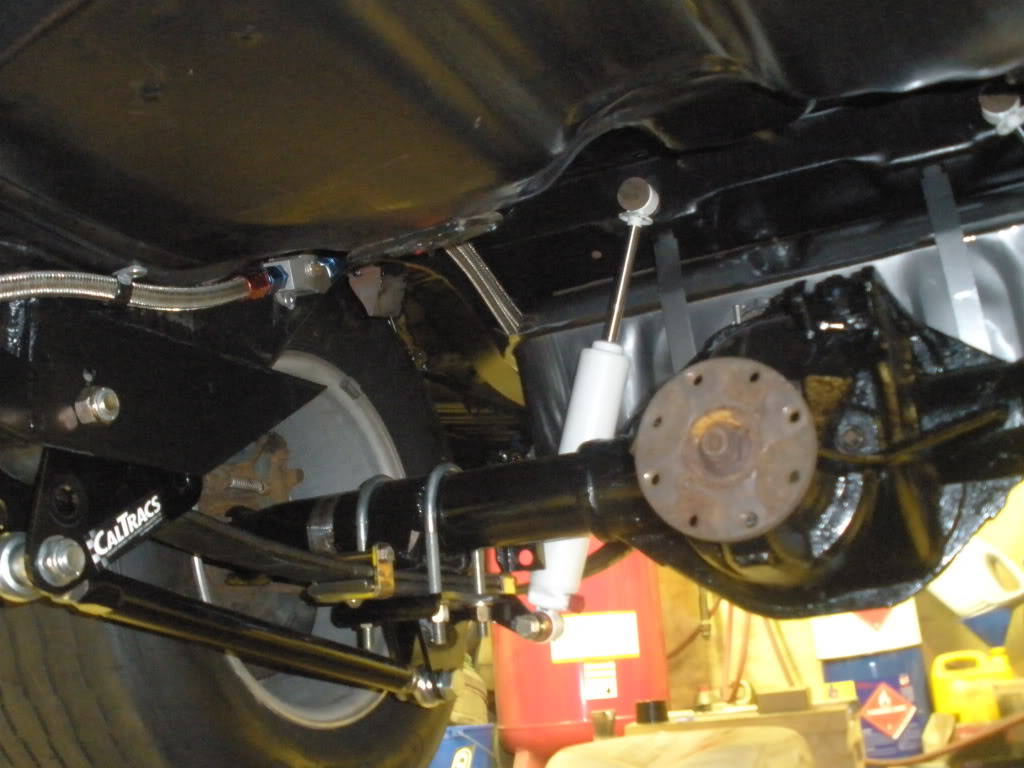
The pinion angle is also maintained. (See illustration)

How Much Power Can You Put to the Ground with Caltracs?
So you tell that there is no way to get traction with leaf-springs?? Wrong! Check video below and see yourself!
This car had run 4.48sec/169MPH at 1/8 mile!
3100lbs, no anti roll bar, leaf springs, Caltrac suspension, 315 radial
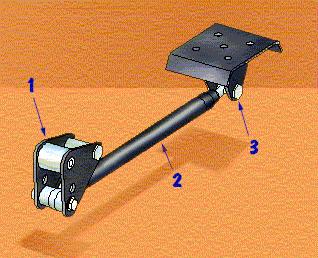
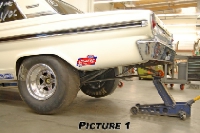
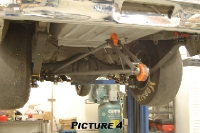
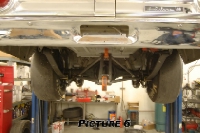
With each spring assembly ready to go in, position the forward pivot assembly to the front spring eye. (Assure that the Spring Stop Bolt is located on the upper surface of the spring.) Install the Steel Bushing through the pivot and front spring eye bushing. Now, reinstall the spring using the original hardware. Repeat the process for the other side.
Lower the rear axle assembly on to the springs. Install the supplied spring perches as you would the stock items being replaced. Attach the shocks.
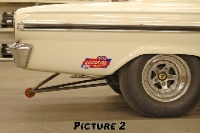
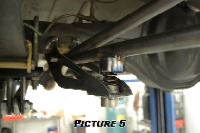
Now the Force Transfer Link can be installed by starting the HEX (wrenching) end on to the forward rod end. Remove the rear rod end from the spring perch and start its threads into the rear Force Transfer Link. Adjust the assembly to proper length by holding the rear rod end then rotating the Force Transfer Link until the rear rod end will line up with the mounting hole in the rear spring perch. Install the rear rod end fastener and secure.
With the CALTRACS installed and the rear tires reinstalled, lower the car to the ground. As an initial setting, turn the Force Transfer Link until the spring Stop Bolt just contacts the upper surface of the spring, then turn the Force Transfer Link one turn more to establish pre-load. Tighten the Force Transfer Link lock nut. That's it!
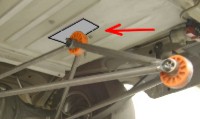
Caltrac Ultimate Wheelie Bar
The triangulation of the design forces the tire into the ground when pressure is applied to the roller rather than just transferring the load onto the conventional wheelie bar rollers and lifting the rear wheels off the ground. The more pressure you apply to the roller the harder it pushes down on the axle and tires.
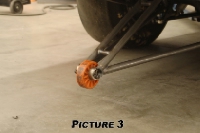
The contact patch of the upper wheel needs to have a reinforcement plate on the floor pan to handle the load. 3" by 10" 3/16 steel
The spring cushions the load and applies a smooth weight transfer without violent slamming together of the components.
Measure the center to center of the rear springs


1. Set the car on the ground
2. Measure on a level plane 28" back from the axle tube.
3. Measure from the floor pan to the ground.
4. Mark the 28" point on the floor pan and weld in a plate 3"x10" to carry the load of the center or axis wheel (fig 7)
If you car is too short to get the plate at 28" call for instructions
Weld or bolt in plate as shown with the center at 28" from rear of axle tube measured horizontally from rear face of axle tube.